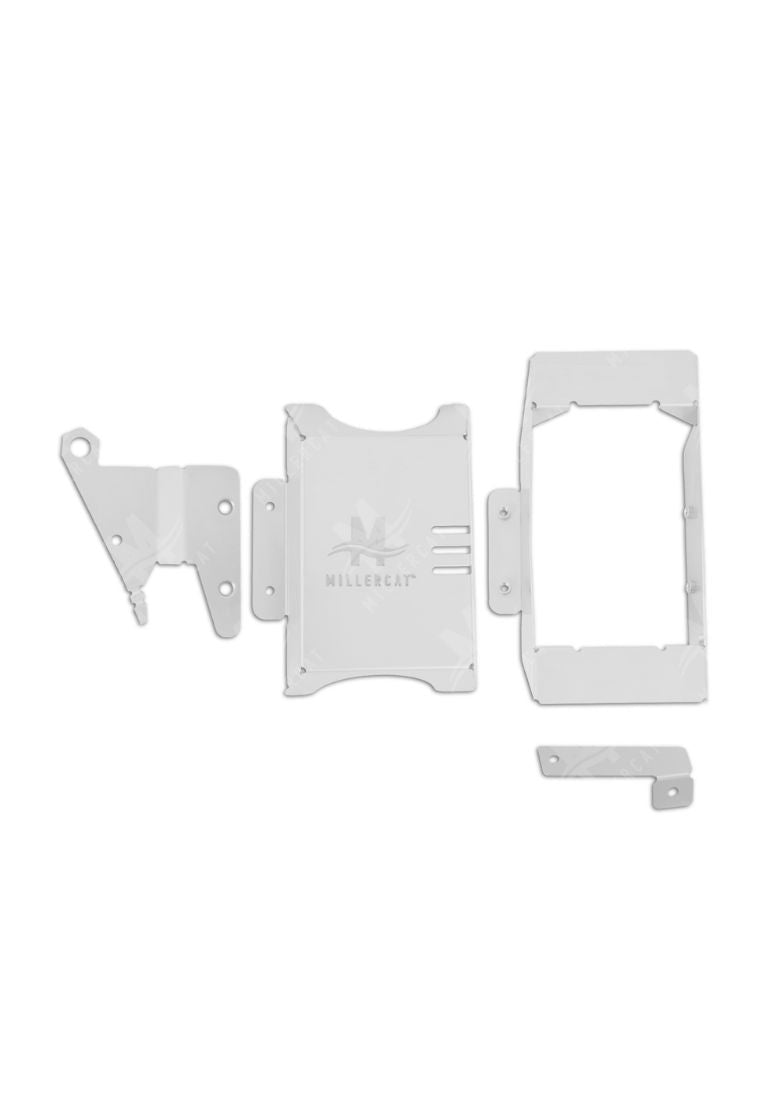
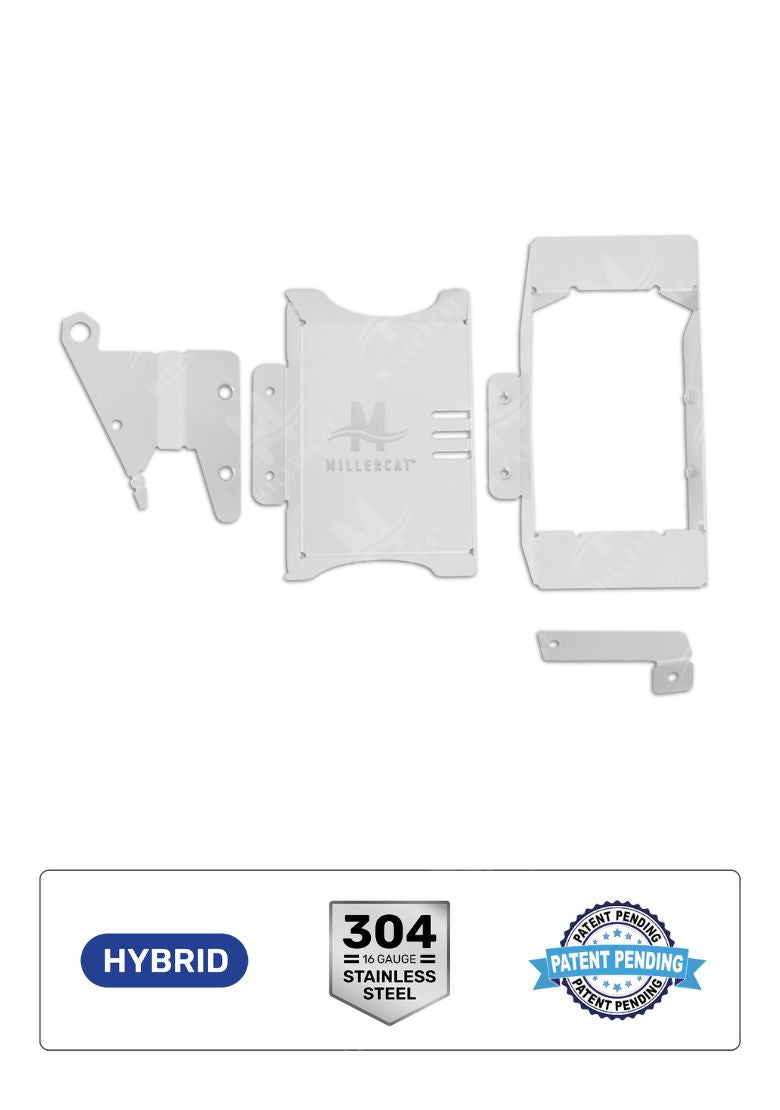
Material: 304 Stainless Steel | 16 Gauge
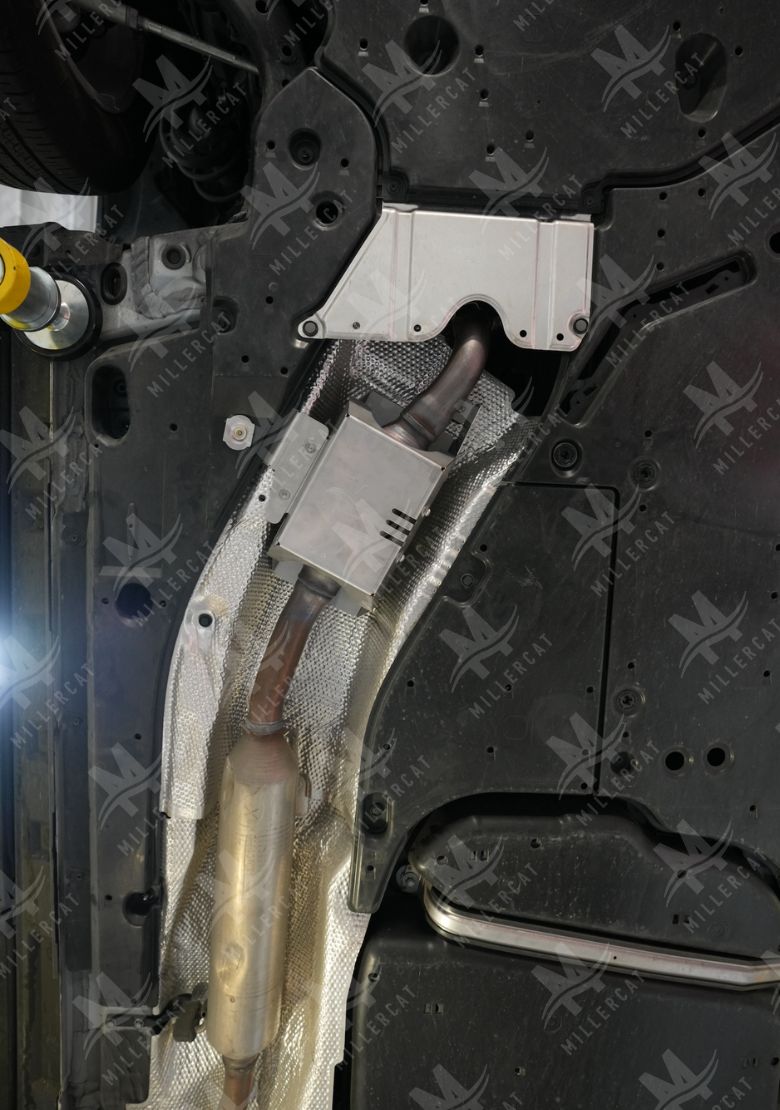
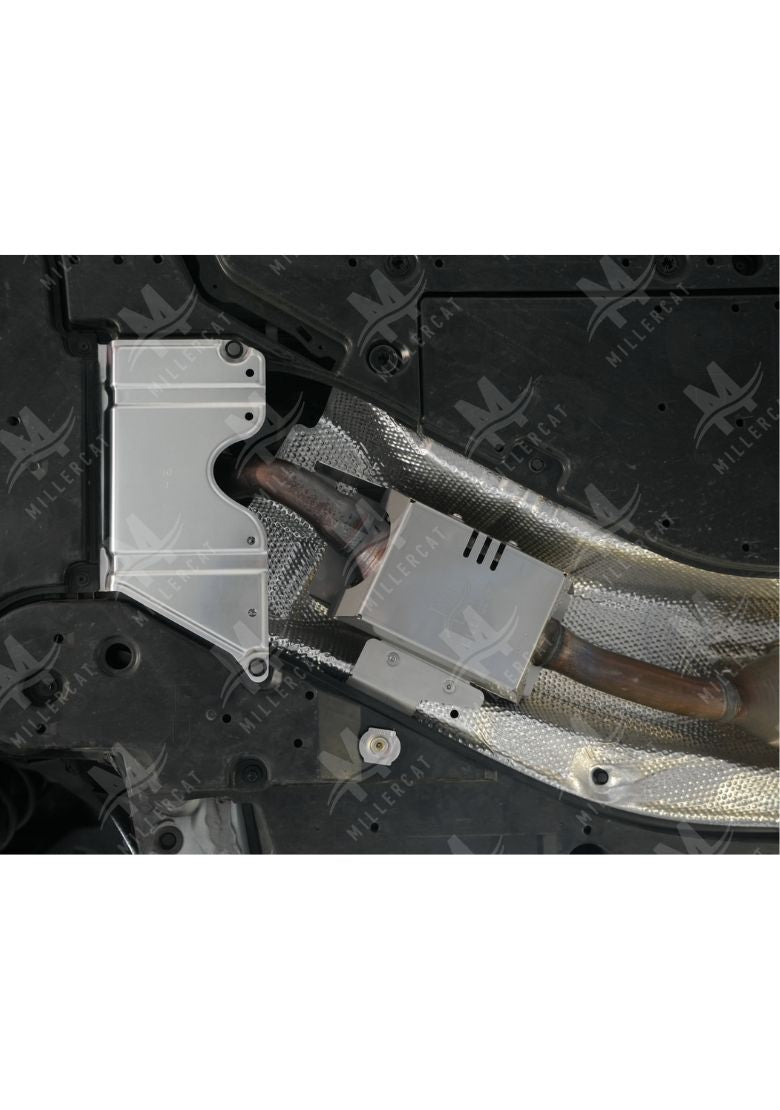
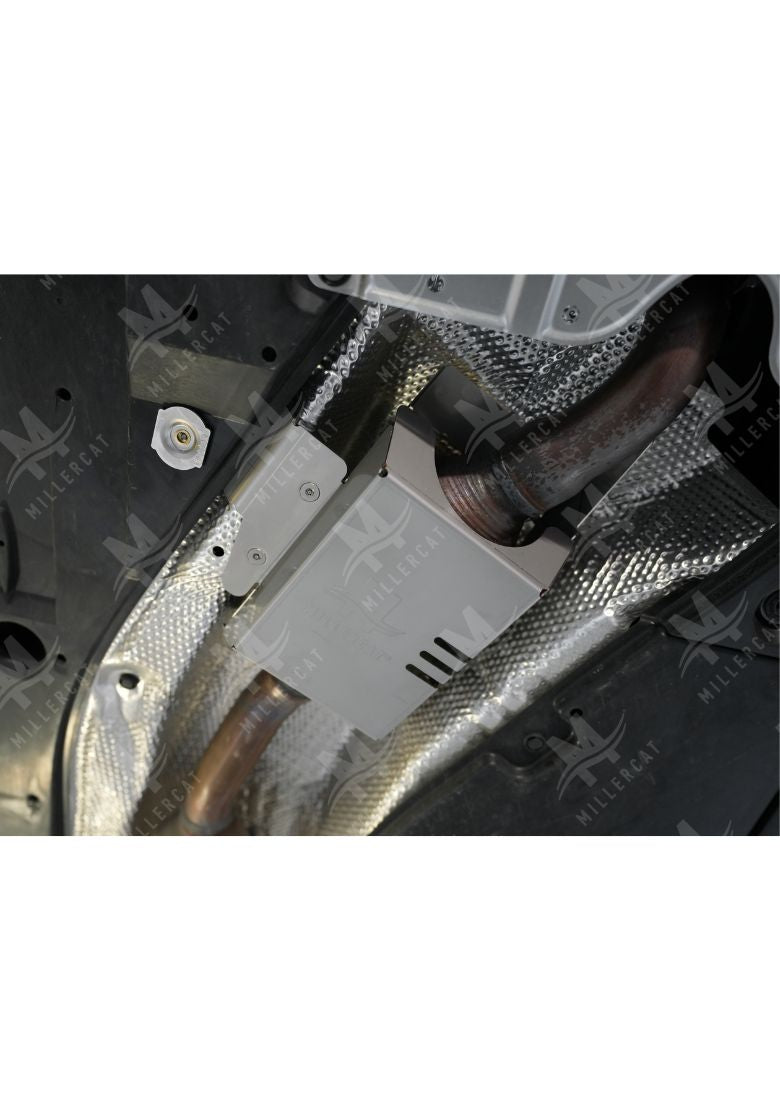
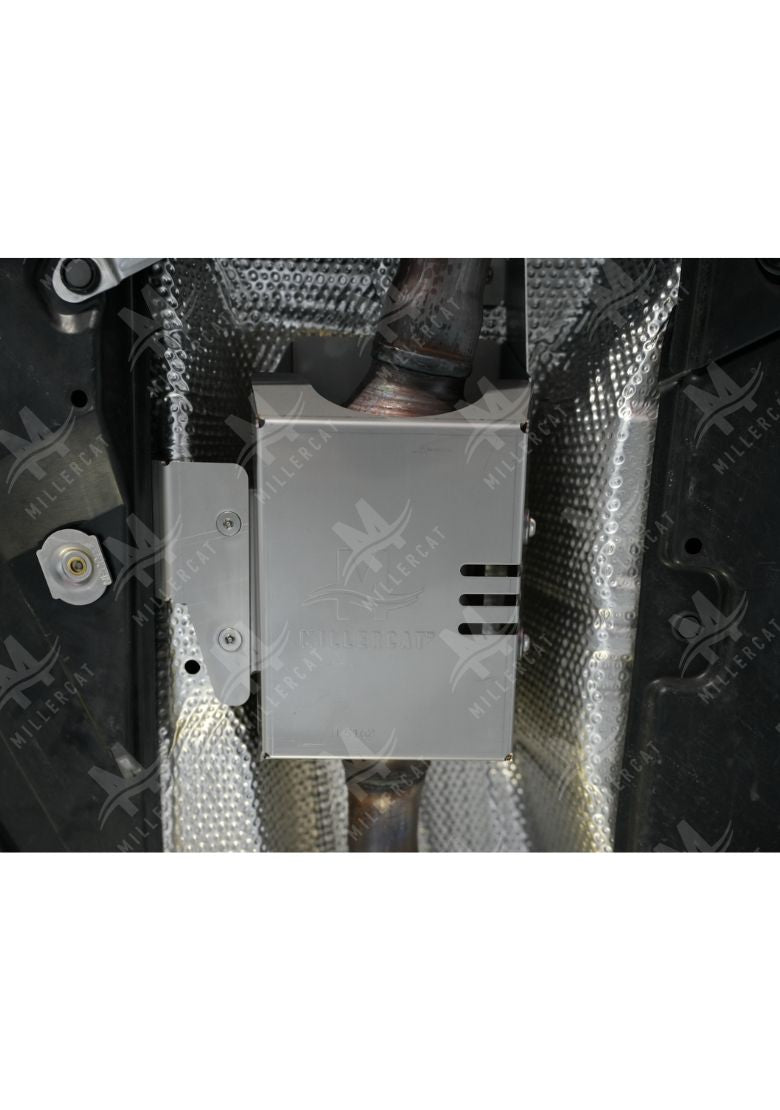
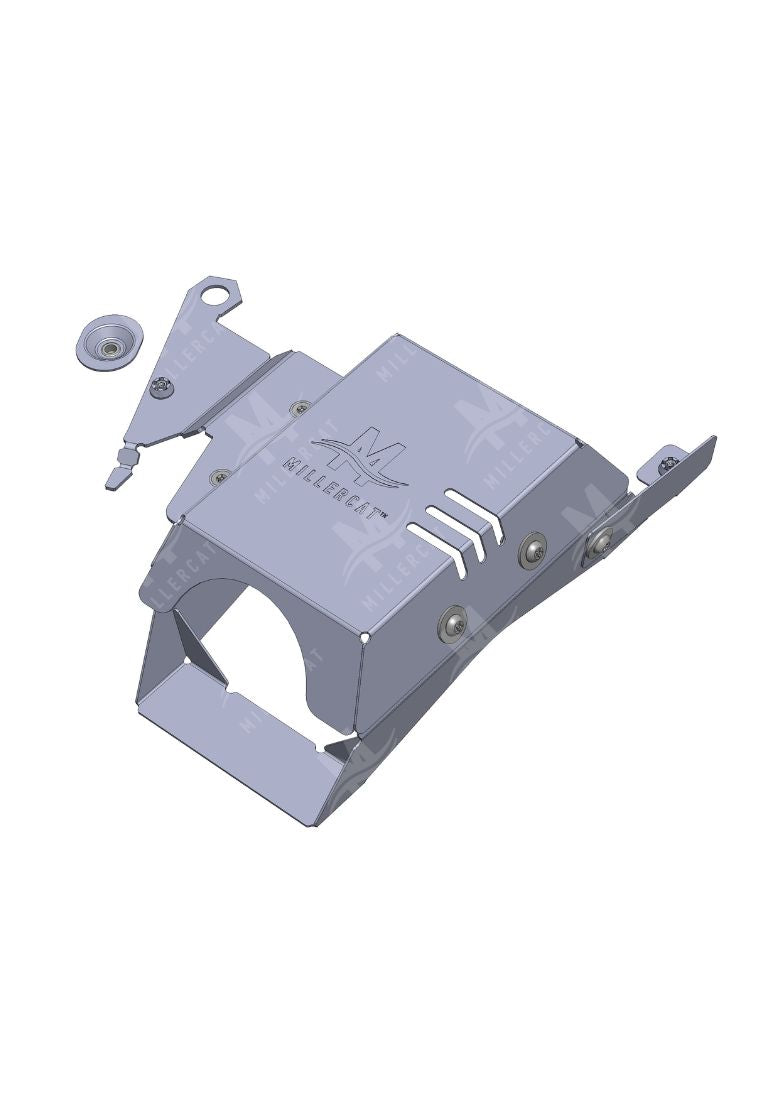
Our all-new, stainless steel RAV4 Hybrid V2 Cat Shield has been redesigned to completely cover and protect the catalytic converter. This V2 shield is more compact, lighter, and uses different mounting points than the V1 for easier installation.
Notes: Shield may have some surface imperfections. Professional installation recommended. Package includes Cat Shield, tamper-proof hardware kit, Cat Shield Protected sticker, and detailed installation guide.
Our Fitment Guarantee: While we do our best to test and verify every model, it is impossible to know for sure. We guarantee that if your vehicle is listed on the fitment table and you purchased the right shield for your vehicle but the shield does not fit, we will issue a full refund including return shipping on the product. The vehicle must have the original converter and no modifications to the suspension. If you are unsure about your fitment, please send photos to support@millercat.com to verify fitment before purchase.
Year | Make | Model | Engine Size | Transmission |
---|---|---|---|---|
2019 | Toyota | RAV4 Hybrid | 2.5L | FWD/AWD |
2020 | Toyota | RAV4 Hybrid | 2.5L | FWD/AWD |
2021 | Toyota | RAV4 Hybrid | 2.5L | FWD/AWD |
2022 | Toyota | RAV4 Hybrid | 2.5L | FWD/AWD |
2023 | Toyota | RAV4 Hybrid | 2.5L | FWD/AWD |
Disclaimer: Our product was designed to be used under normal operating conditions set by the manufacturer. Exceeding those conditions may risk damage to the vehicle or the product. See Section 28 in our Terms of Service for more information.
Will the shield interfere with maintenance such as engine oil and transmission fluid changes?
All Miller CAT Cat Shields will not interfere with your oil changes. Some vehicles will require the shield to be removed for transmission fluid changes. Check your maintenance schedule on how frequently to change your transmission fluid. Toyota's recommendation is 30-60k miles and 60-100k miles depending on your vehicle and driving habits.
Does this shield cause the converter to overheat?
No, our shields will not cause overheating or damage to your vehicle. In addition to shields, we manufacture catalytic converters, so we know how to protect them without damaging the converter or your vehicle. Read about this in more detail.
How long does it take to ship?
We know you can’t wait long to protect your converters when theft is so rampant. Here at Miller CAT, our shields are made to stock and ready to ship. Unlike many other companies that make shields to order, we fulfill orders in 1-2 business days and if possible, on the same day.
Free shipping is available to the lower 48 States. Please note that we cannot deliver to P.O. Boxes. Orders will take 1-2 business days to fulfill.
Expedited Shipping InfoExpedited shipping is available for customers who need their products sooner. Please note the following when choosing an expedited shipping method:
If you wish to make an international purchase, please contact us at info@millercat.com. By default, we only ship to a few international destinations. Please be aware that there may be significant fees that you (the buyer) must pay when you receive the product.
Value Added Taxes (VAT) and import duties are some of the fees that your country will impose on your purchase. We do not know what these fees are and they are solely managed and determined by your customs office.
ReturnsWe have a 30-day return policy window for unused products. Please visit this link for more information.
Note: We ask that you carefully review vehicle compatibility and other product/install information before making your purchase. Help us reduce the possibility of returns as much as possible and reduce the carbon footprint of these shields, as they are large and expensive to ship.
We have a 90-day manufacturer's warranty against defects from the manufacturing process. This covers issues that prevent the proper installation or performance of the product.
Cosmetic imperfections that occur either from the manufacturing or shipping process are not covered. We do not manufacture cosmetic products or ones designed for show. Any undercar product will quickly gain scratches and scuffs due to the location of the product and proximity to the road. Click here to find out more about the manufacturing process and what you might expect from your product.
We do NOT guarantee our product against theft. Cat Shields are a deterrence device that are meant to discourage theft and/or make it more difficult for thieves to steal your converter. Given the right tools, technique or time, a thief can still take your converter. However, by having a shield, you are significantly increasing your protection against converter theft. Similar to a car or home alarm, you are making thieves second-guess themselves and consider moving onto another target. Deterrence works and we have countless customer accounts and video evidence of derailed converter theft.
Sure hope it keeps the criminals away. I hate those people who rob and steal. Lock them up forever
Not a simple plate guard but an elegant box containment. Schrödinger's cat Is definitely alive.
This seems well made and has a great fit and finish to it.
It seems like it will do a decent job of protecting the cat from being easily cut off by anyone.
Installation is a bit tricky so I will provide some tips down below.
Here are some tips for those doing this.
First, wait for the car to cool down so you do not burn your arm (like I did).
This is a lot easier if you have a second pair of hands to help with getting tools and holding parts in place. Not required but I highly recommend finding a friend.
I needed help getting the three pieces lines up at the bottom while I screwed the flat bolts in.
The picture shown is for working on the PASSENGER side. The instructions did not seem to mention this anywhere and I was bending around trying to figure out which side the picture was showing before I figured that out. It took me waay too long to figure out what side the first bracket is installed.
The clip that you have to unscrew with tension takes a LONG time to undo. Be patient. I wanted to just break it off but it will come if you keep unscrewing it.
Remember to place the included purple thread locker on ALL the threads you will be using. Not just the subframe bolt (final torque spec 63 fllbs), but also all the fasteners and heads that you install.
A socket drive screwdriver is required for this. I ended up having to use my drill as the one I normally use was not available.
Ideally if you have a "pass through" set that can take small bit drivers that would be ideal for some of the tight spots.
The bracket that has the subframe bolt go through it for me was bent incorrectly at the tap that goes in the hole where the gasket was taken out. I bent mine further up so that I had the correct clearance to install the bracket (after it scratched some of the paint).
When placing the top mount of the heat shield do not try to get it over the top of the cat first. Start further down at the back of the vehicle and work your way to the front where the cat is located.
The last bracket that attaches to the top of the heat shield that then swings up to bolt to the existing **** is unaccusable once the top **** has it secured in place. So I recommend tightening it enough so that you can just barely move the arm up since you cannot go back to this bolt afterward.
Good luck!
I may not ever know how well the shield works, but it looks solid and my mechanic seemed impressed by it. While it was being shipped to me, the company sent an email saying that they were refunding me $70 because they had lowered the price after my purchase. That really impressed me: not many companies would be so conscientious these days, and it gives me more reason to trust the product.
Thanks for subscribing!
This email has been registered!